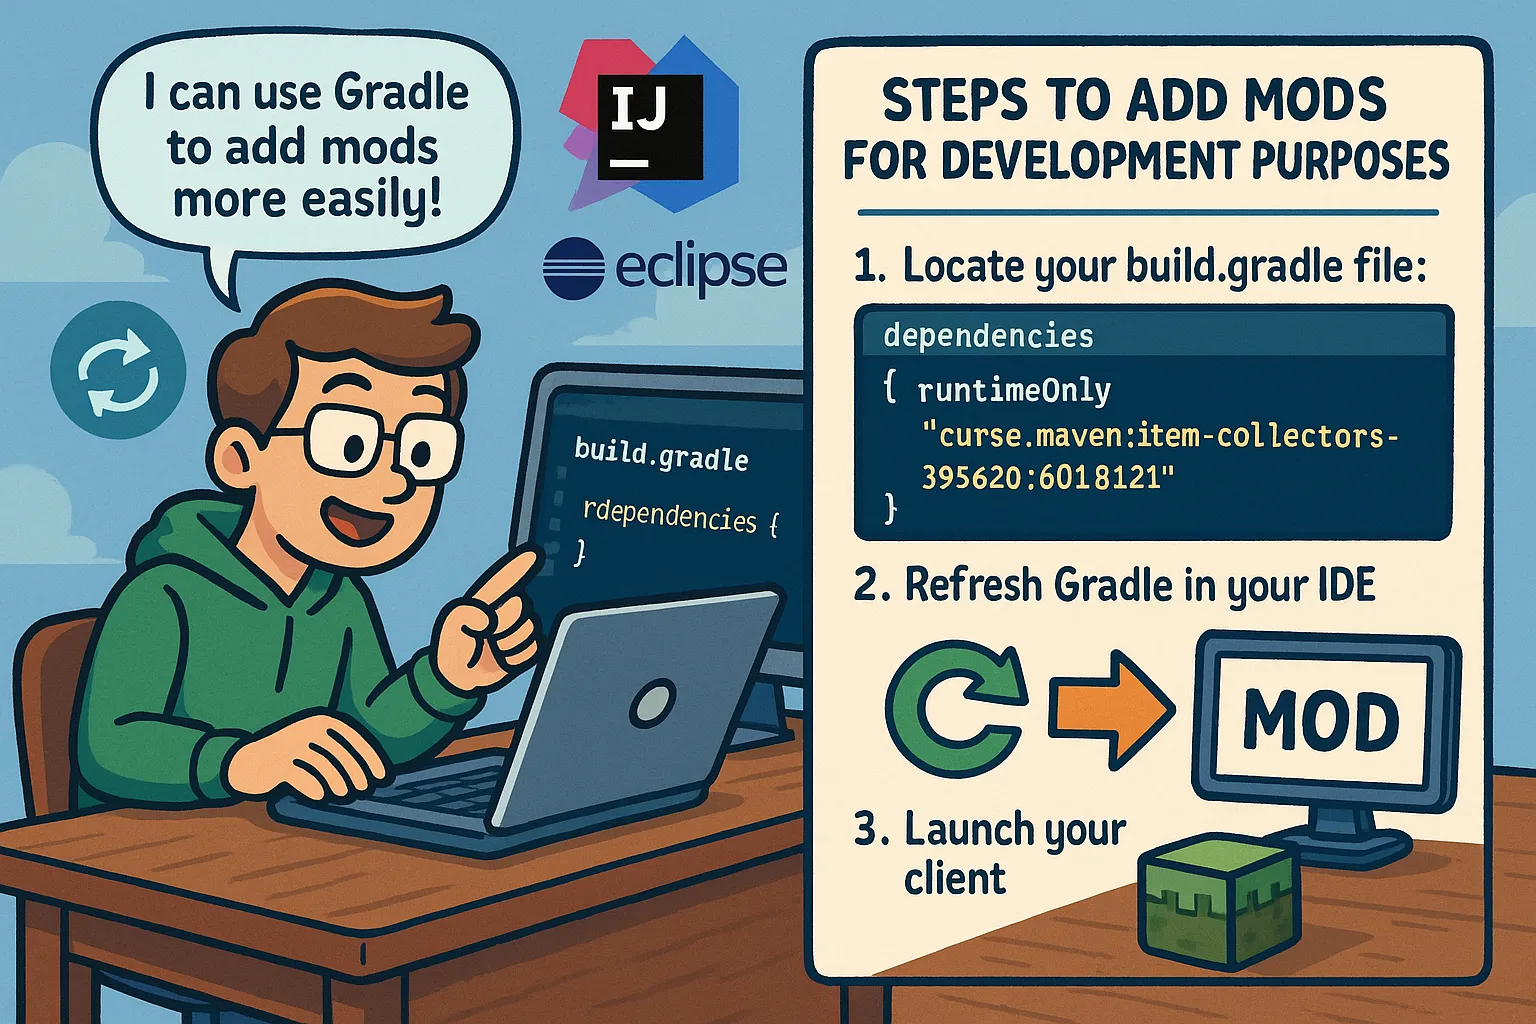
Today, I wanted to add a mod for development purposes without manually placing it in the run folder. I discovered that I could use Gradle to add mods more easily. This should work on Intellij IDEA and Eclipse.
Steps to Add Mods for Development Purposes (or Mods your Mod Depends on)
1. Locate your build.gradle file:
In your build.gradle file, look for a section called dependencies. If it’s not there, you can add it manually:
dependencies {
	runtimeOnly "curse.maven:item-collectors-395620:6018121"
}
If the mod we are working on actually needs this mod to run then we use modImplementation instead of runtimeOnly (It could happen that instead of runtimeOnly we need modRuntimeOnly instead)
In this example we added the Item Collectors mod. https://www.curseforge.com/minecraft/mc-mods/item-collectors
Here’s what each part means:
curse.mavenis the repository for downloading mods from CurseForge.item-collectorsis the mod’s name, taken from the URL.395620is the mod’s ID, found on the mod page’s right sidebar underProject ID6018121is the file ID, specific to the version we need. For example, selecting Game Version 1.21.4 and NeoForgeItem Collectors 1.1.10 for NeoForge 1.21.4gives ushttps://www.curseforge.com/minecraft/mc-mods/item-collectors/files/6018121, where 6018121 is the file ID.
2. Add Curse Maven to the repositories
repositories {
	maven {
			url = "https://www.cursemaven.com"
			content {
				includeGroup "curse.maven"
			}
		}
}
3. Refresh Gradle in your IDE:
After adding the dependency, an option to refresh Gradle should appear in your IDE. Click on it to refresh.
4. Launch your client:
Once Gradle is refreshed, you can launch your client, and the mod should be available.
This method is not only useful for adding mods for development purposes but also for adding dependencies your mod needs.
I hope this guide helps you!